Make inter-canister calls
One of the most important features of the Internet Computer blockchain for developers is the ability to call functions in one canister smart contract from another canister smart contract. This capability to make calls between canisters—also sometimes referred to as inter-canister calls—enables you to reuse and share functionality in multiple dapps.
For example, you might want to create a dapp for professional networking, organizing community events, or hosting fundraising activities. Each of these dapps might have a social component that enables users to identify social relationships based on some criteria or shared interest, such as friends and family or current and former colleagues.
To address this social component, you might want to create a single canister smart contract for storing user relationships then write your professional networking, community organizing, or fundraising application to import and call functions that are defined in the canister for social connections. You could then build additional applications to use the social connections canister smart contract or extend the features provided by the social connections canister to make it useful to an even broader community of other developers.
The Motoko-based LinkedUp sample dapp provides a simple implementation of an open professional network that demonstrates how to use inter-canister calls within a project.
The LinkedUp sample dapp is implemented using the following canister smart contracts:
-
The
linkedupcanister smart contract creates and stores basic profile information for a user, including work experience and educational background. -
The
connectdcanister smart contract creates and stores a user’s connections. -
The
linkedup_assetscanister smart contract stores the front-end assets—including the JavaScript, HTML, and CSS files—that define the user interface
Before you begin
Before building the sample dapp, verify the following:
-
You have downloaded and installed the DFINITY Canister SDK package as described in Download and install.
-
You have stopped the local canister execution environment provided by
dfx.
Download the demo
To experiment with inter-canister calls using the LinkedUp sample dapp:
-
Open a terminal shell and change to the folder you are using for your Internet Computer sample projects.
-
Clone the
linkeduprepository.git clone https://github.com/dfinity/linkedup.git -
Change to the local working directory for the
linkeduprepository.cd linkedup -
Install node modules by running the following command:
npm installIf necessary, fix any vulnerabilities found by running the following command:
npm audit fix -
Open the
dfx.jsonfile in a text editor and verify thedfxsetting has same the version number as thedfxexecutable you have installed.
Start the local canister execution environment
For development purposes dfx provides a local canister execution environment. This requires a dfx.json file, so you should be sure you are in the linkedup root directory.
To start the local canister execution environment:
-
Open a new terminal window or tab on your local computer.
-
Navigate to the root directory for your project, if necessary.
-
Start the local canister execution environment by running the following command:
dfx start --backgroundAfter the local canister execution environment completes its startup operations, you can continue to the next step.
Register canister identifiers
Once the local canister execution environment is up and running, you can generate unique canister identifiers for your project.
To register canister identifiers:
-
Check that you are still in your project directory, if needed.
-
Register unique canister identifiers for the project by running the following command:
dfx canister create --allThe command displays the canister identifiers for the canisters defined in the
dfx.jsonconfiguration file."connectd" canister created with canister id: "75hes-oqbaa-aaaaa-aaaaa-aaaaa-aaaaa-aaaaa-q" "linkedup" canister created with canister id: "cxeji-wacaa-aaaaa-aaaaa-aaaaa-aaaaa-aaaaa-q" "linkedup_assets" canister created with canister id: "7kncf-oidaa-aaaaa-aaaaa-aaaaa-aaaaa-aaaaa-q"
Keep in mind that because you are running the local canister execution environment, these identifiers are only valid on the local canister execution environment. To deploy canisters on the Internet Computer blockchain mainnet, you must specify the appropriate target using the
--networkcommand-line option.
Build and deploy the demo project
To build and deploy the LinkUp sample dapp, take the following steps:
-
Check that you are still in your project directory by running the
pwdcommand, if necessary. -
Build the LinkedUp canister smart contracts by running the following command:
dfx build -
Deploy the project on the local canister execution environment by running the following command:
dfx canister install --allYou should see canister identifiers for the
connectd,linkedupandlinkedup_assetscanister smart contracts with a message similar to the following:Installing code for canister connectd, with canister_id 75hes-oqbaa-aaaaa-aaaaa-aaaaa-aaaaa-aaaaa-q Installing code for canister linkedup, with canister_id cxeji-wacaa-aaaaa-aaaaa-aaaaa-aaaaa-aaaaa-q Installing code for canister linkedup_assets, with canister_id 7kncf-oidaa-aaaaa-aaaaa-aaaaa-aaaaa-aaaaa-q
-
Copy the
linkedup_assetscanister identifier returned by thedfx canister installcommand.In this sample dapp, only the
linkedup_assetscanister smart contract includes the front-end assets used to access the dapp’s user interface. To open the dapp in a browser, therefore, you need to specify thelinkedup_assetscanister identifier. -
Open the
linkedup_assetscanister smart contract in your web browser.For example, if the local canister execution environment binds to the default localhost address and port number, the URL looks similar to this:
http://127.0.0.1:8000/?canisterId=7kncf-oidaa-aaaaa-aaaaa-aaaaa-aaaaa-aaaaa-q
Create a profile and connections
To run through a demonstration of the LinkedUp sample dapp, take the following steps:
-
Open a browser tab or window.
-
Type the web server host name, port, and the
canisterIdkeyword, then paste thelinkedup_assetscanister identifier as the URL to display.127.0.0.1:8000/?canisterId=<ic-identifier-for-linkedup-assets>
The browser displays an introductory page.
A public-private key pair will be automatically generated to establish your identity for accessing the canister smart contract, so there’s no need to provide a user name and password or register an account to store your identity before using the service.
-
Click Login.
The browser displays an empty profile page.
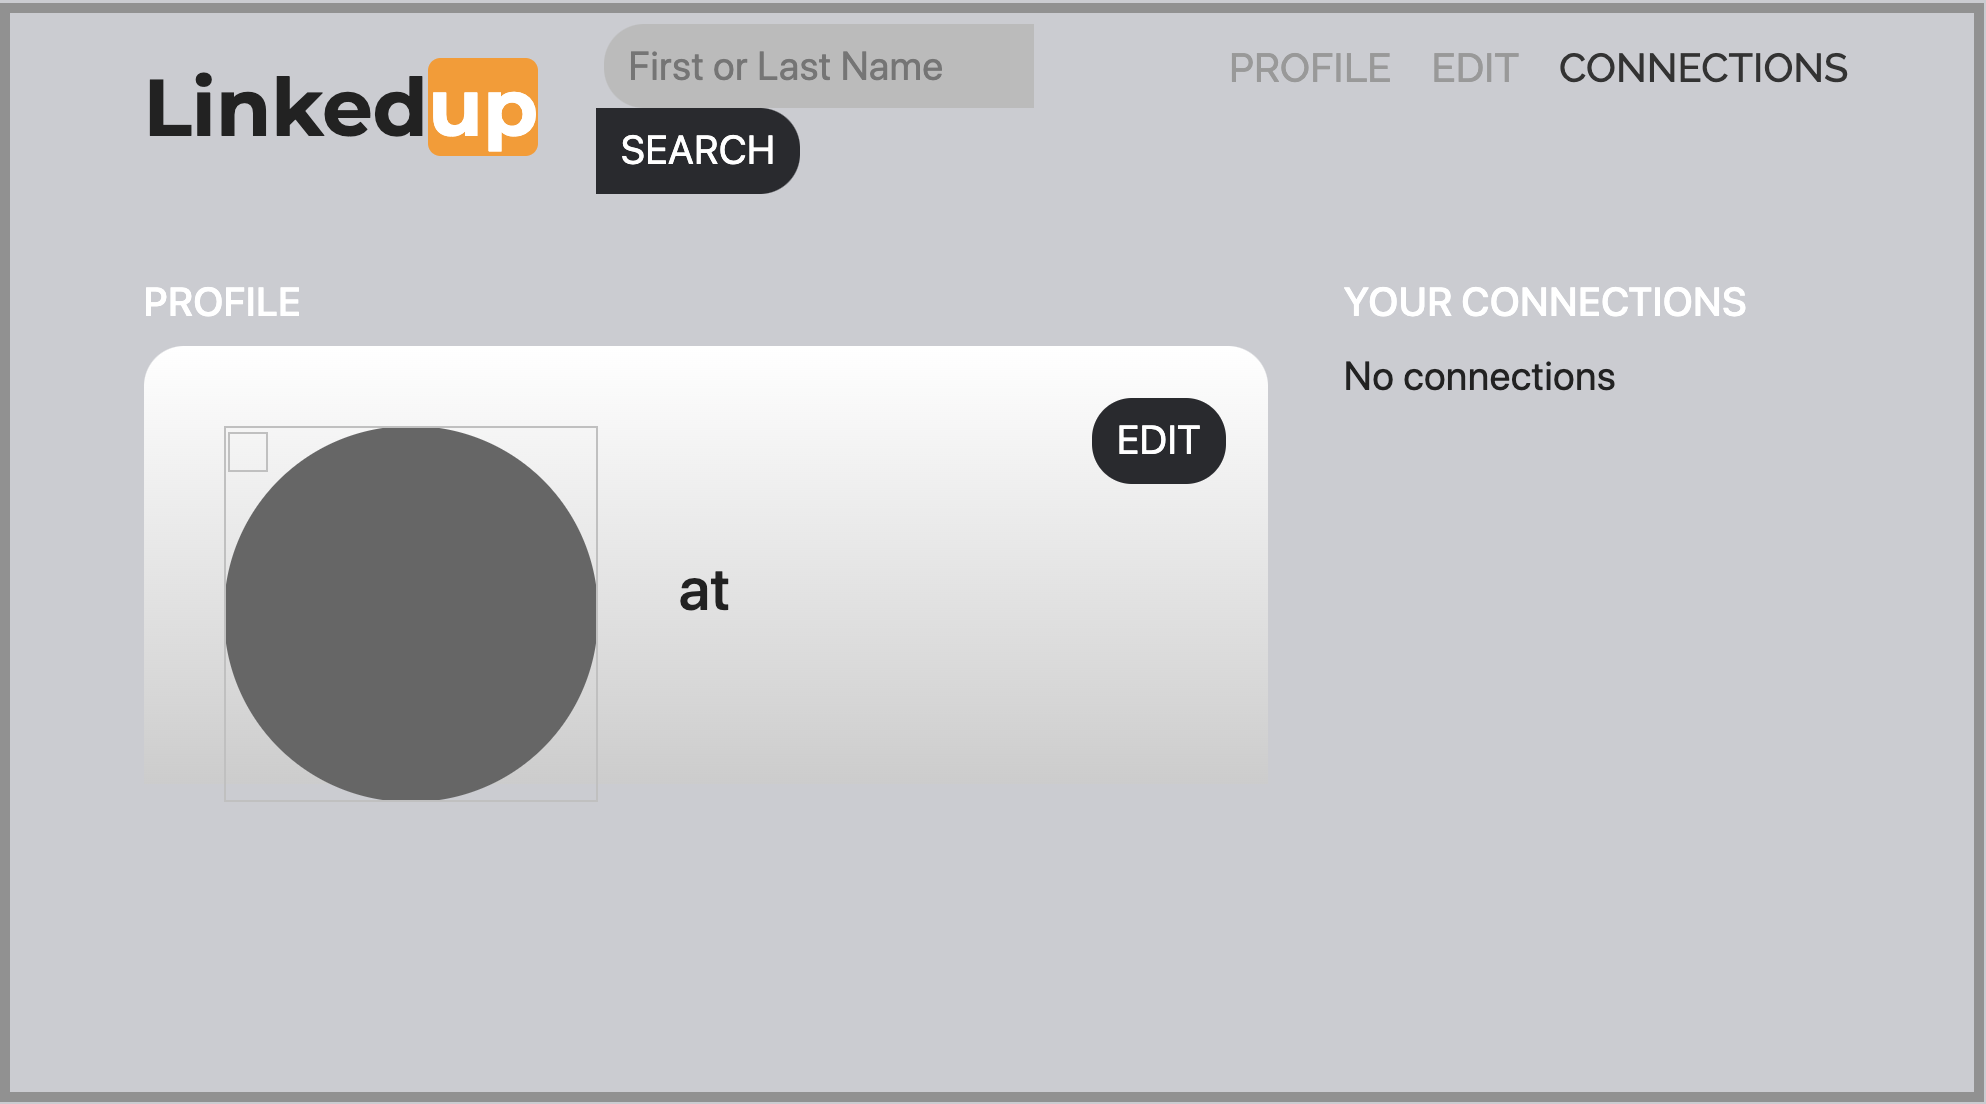
-
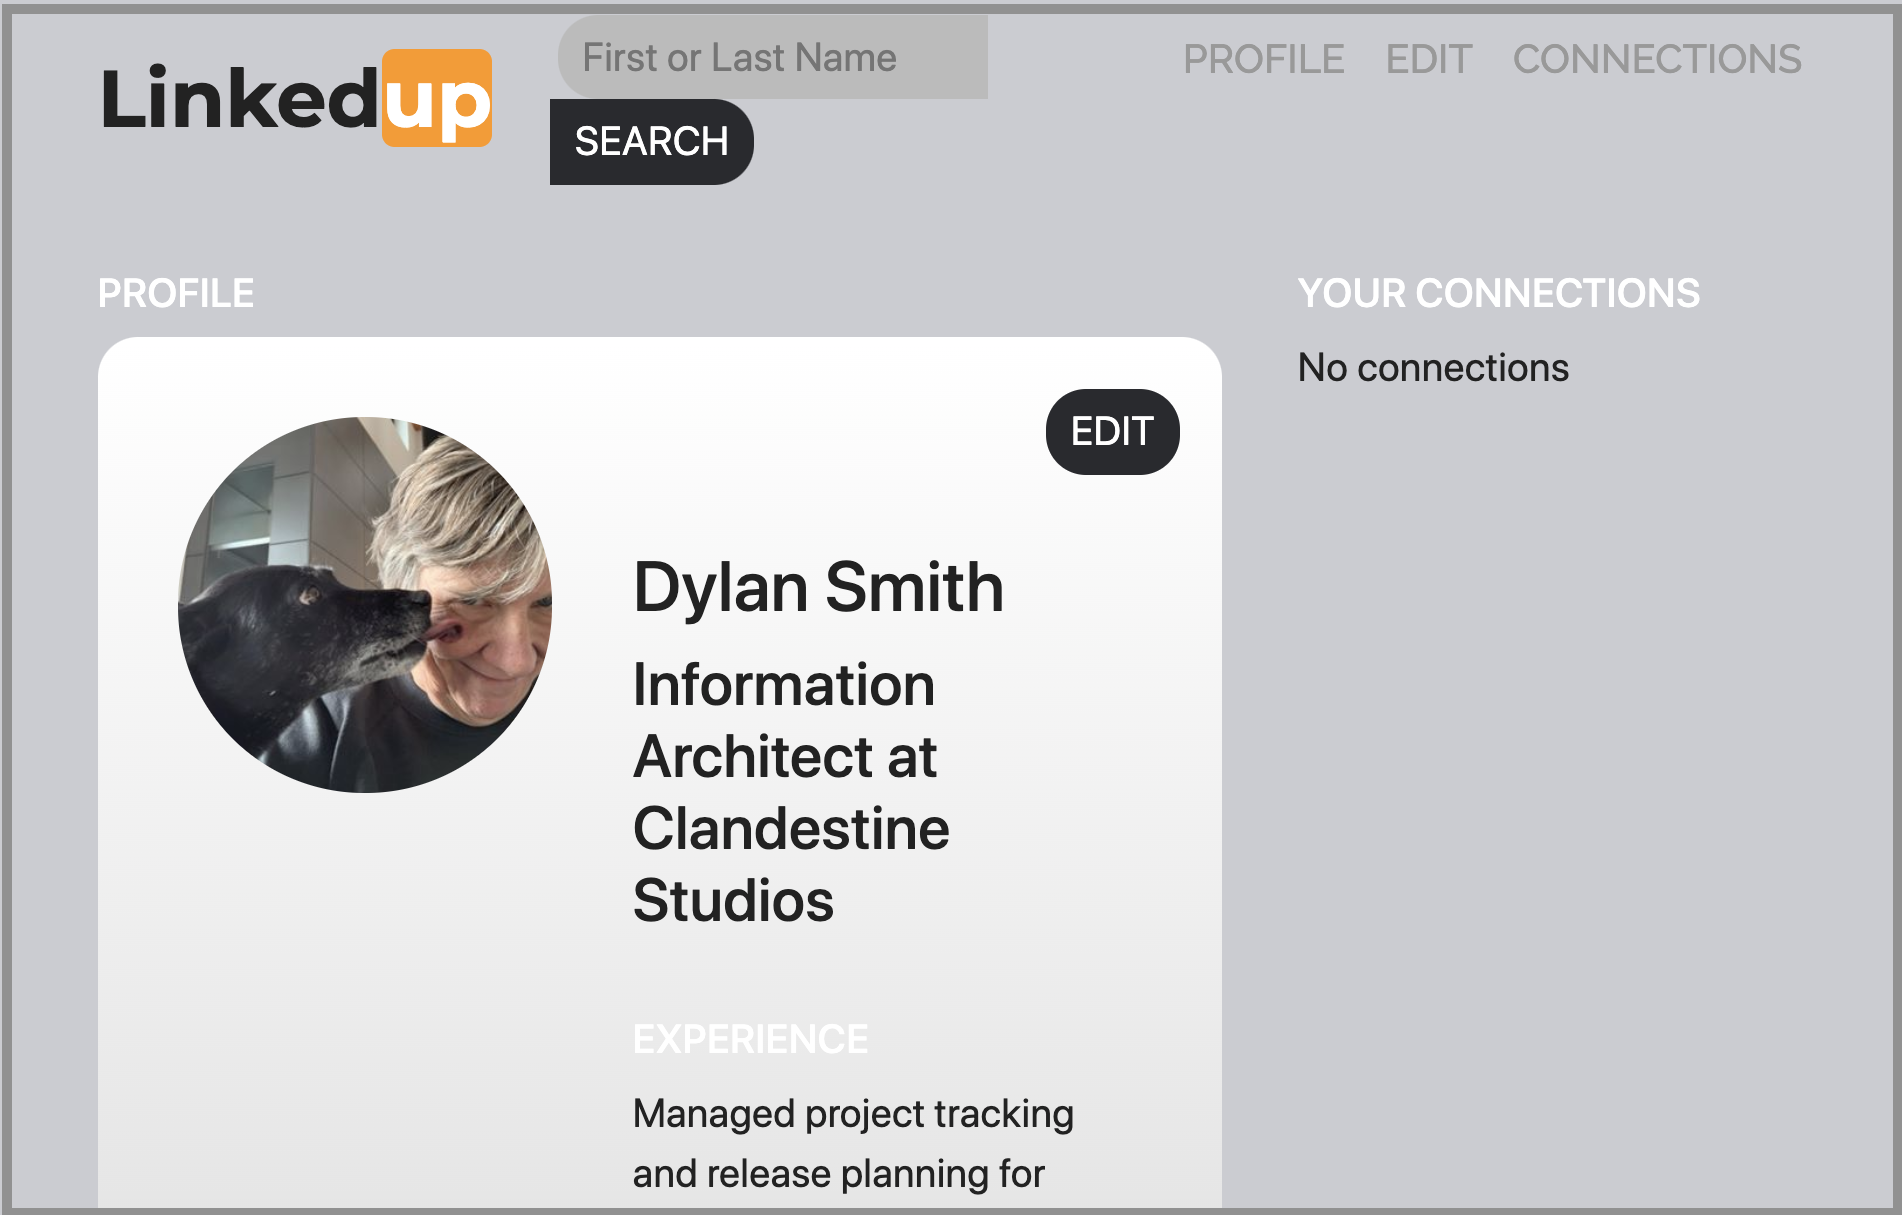
Click Edit, type profile information, copy and paste the image address for an avatar photo, then click Submit.
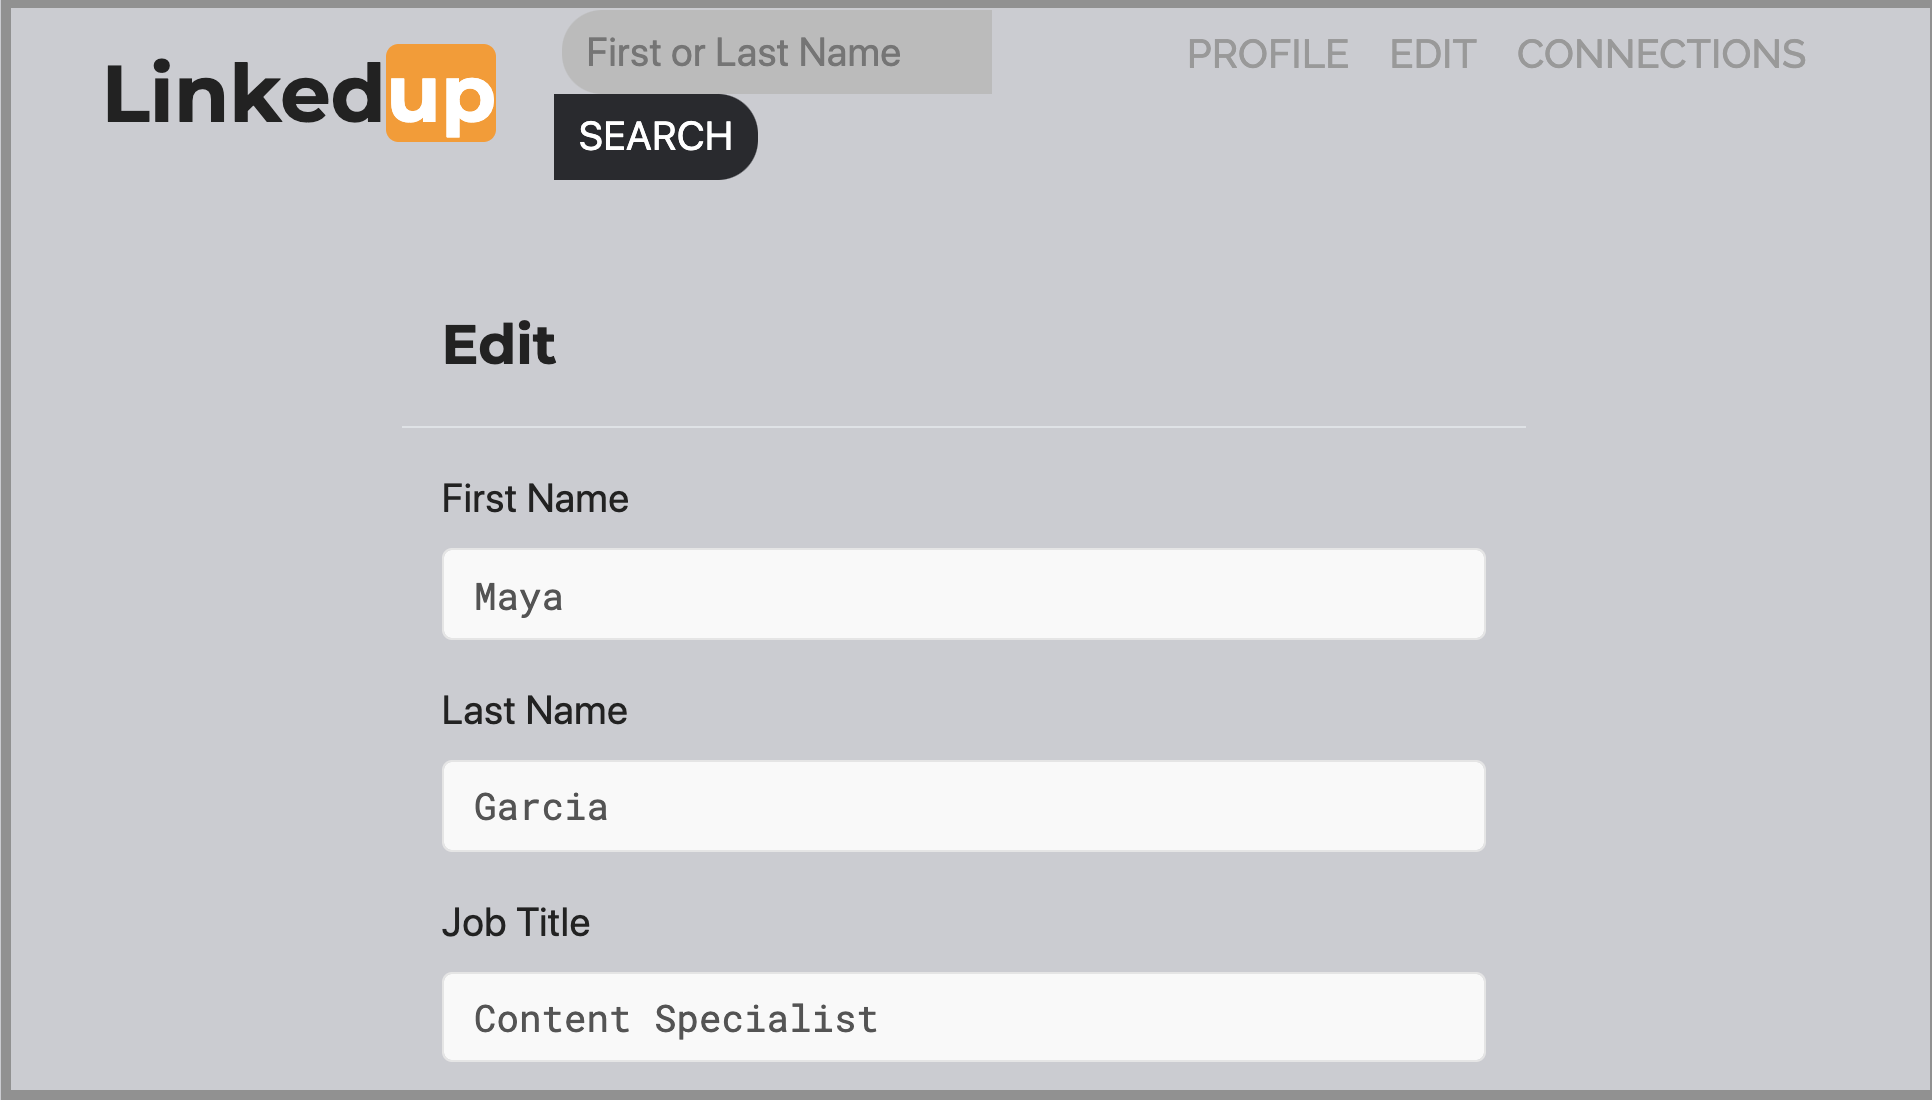
After you click Submit, you have a profile with some work history that can be viewed.
For example:

Add another profile
At this point, there are no other profiles to search for or to add as connections. To try out the Search and Connect features, you can:
-
Run a script that populates the sample dapp with some additional profiles.
-
Create a profile manually by opening a private window.
For this tutorial, you will create another profile manually.
To add a user profile with different identity:
-
At the top right of the browser window, click the appropriate icon to display the browser’s menu options.
For example, if you are using Google Chrome, click the vertical ellipse to display the More menu.
-
Click New Incognito Window if you are using Google Chrome or New Private Window if you are using Firefox to enable you to navigate to the canister without the user identity generated in your initial browser connection to the canister.
-
Copy and paste the URL from your first browser session into the private browsing window, then click Login.
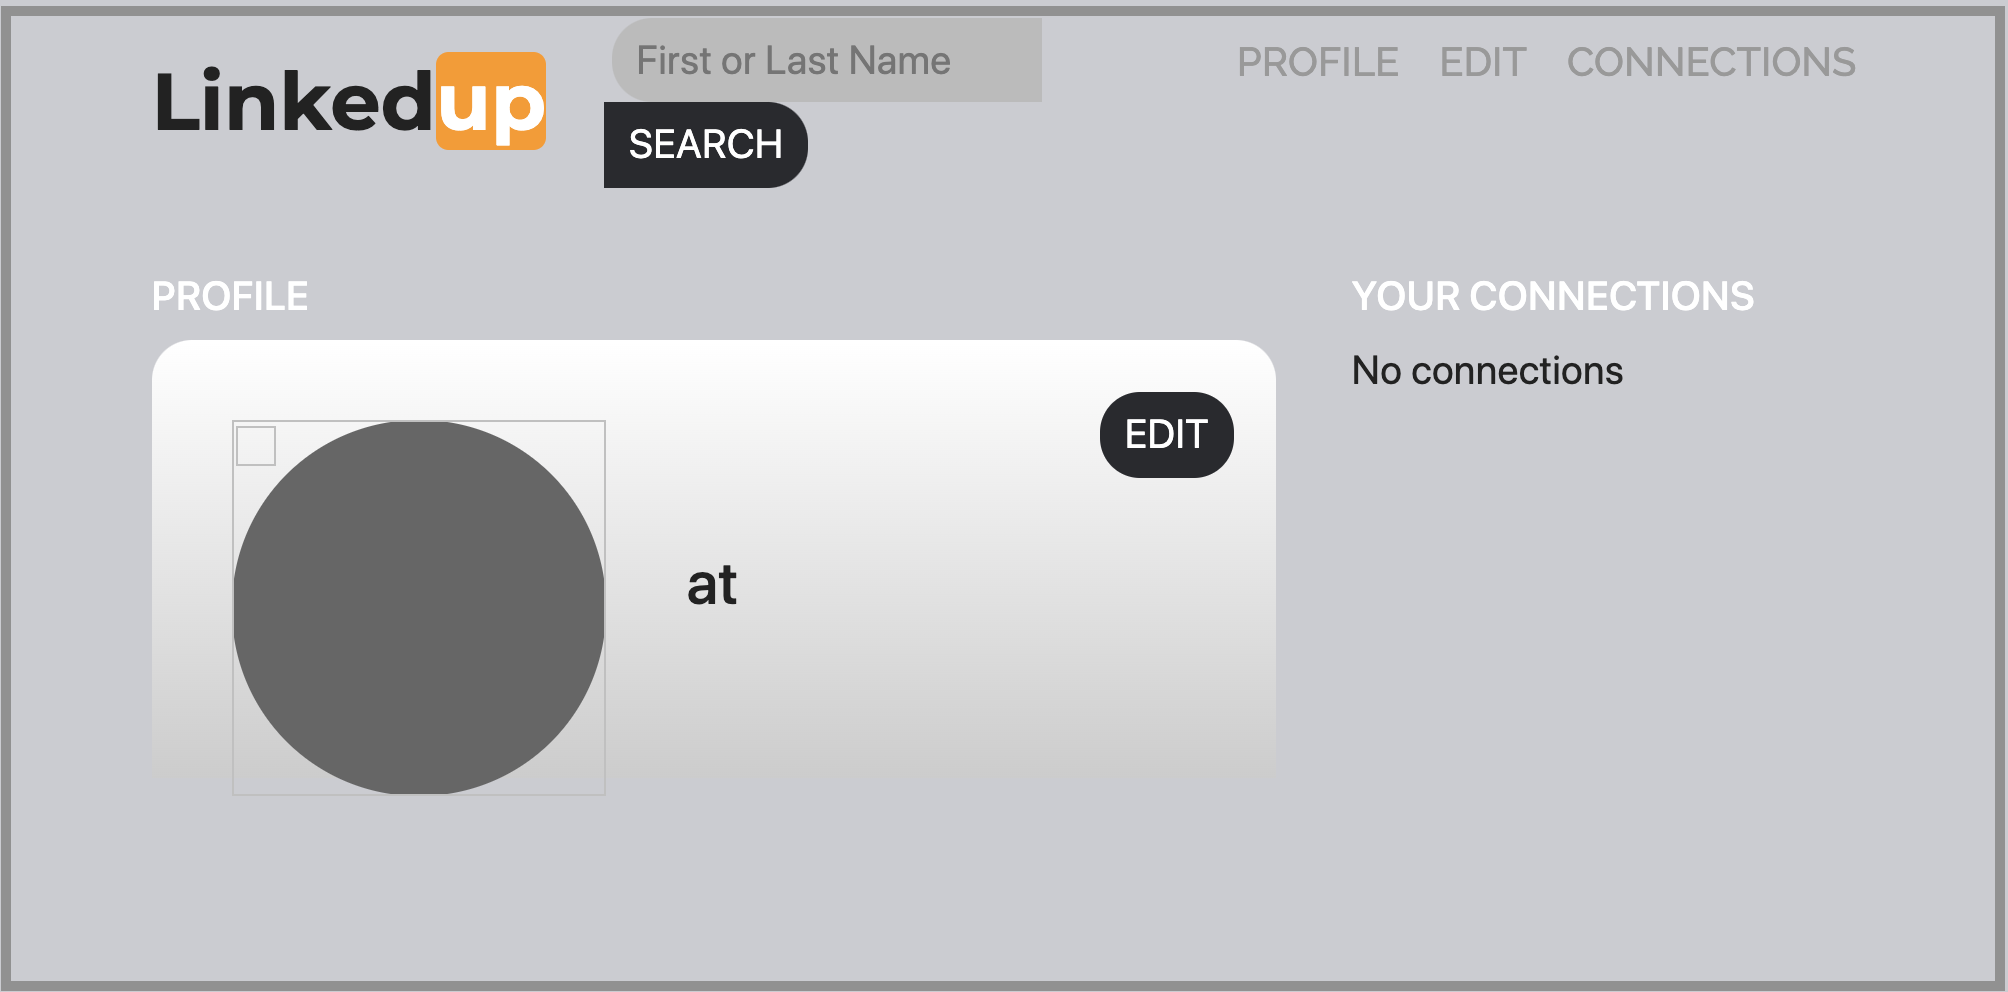
Notice that there’s no profile in the private browsing window but your original profile is still visible in your initial browser tab.
-
Click Edit, type profile information, copy and paste the image address for an avatar photo, then click Submit.
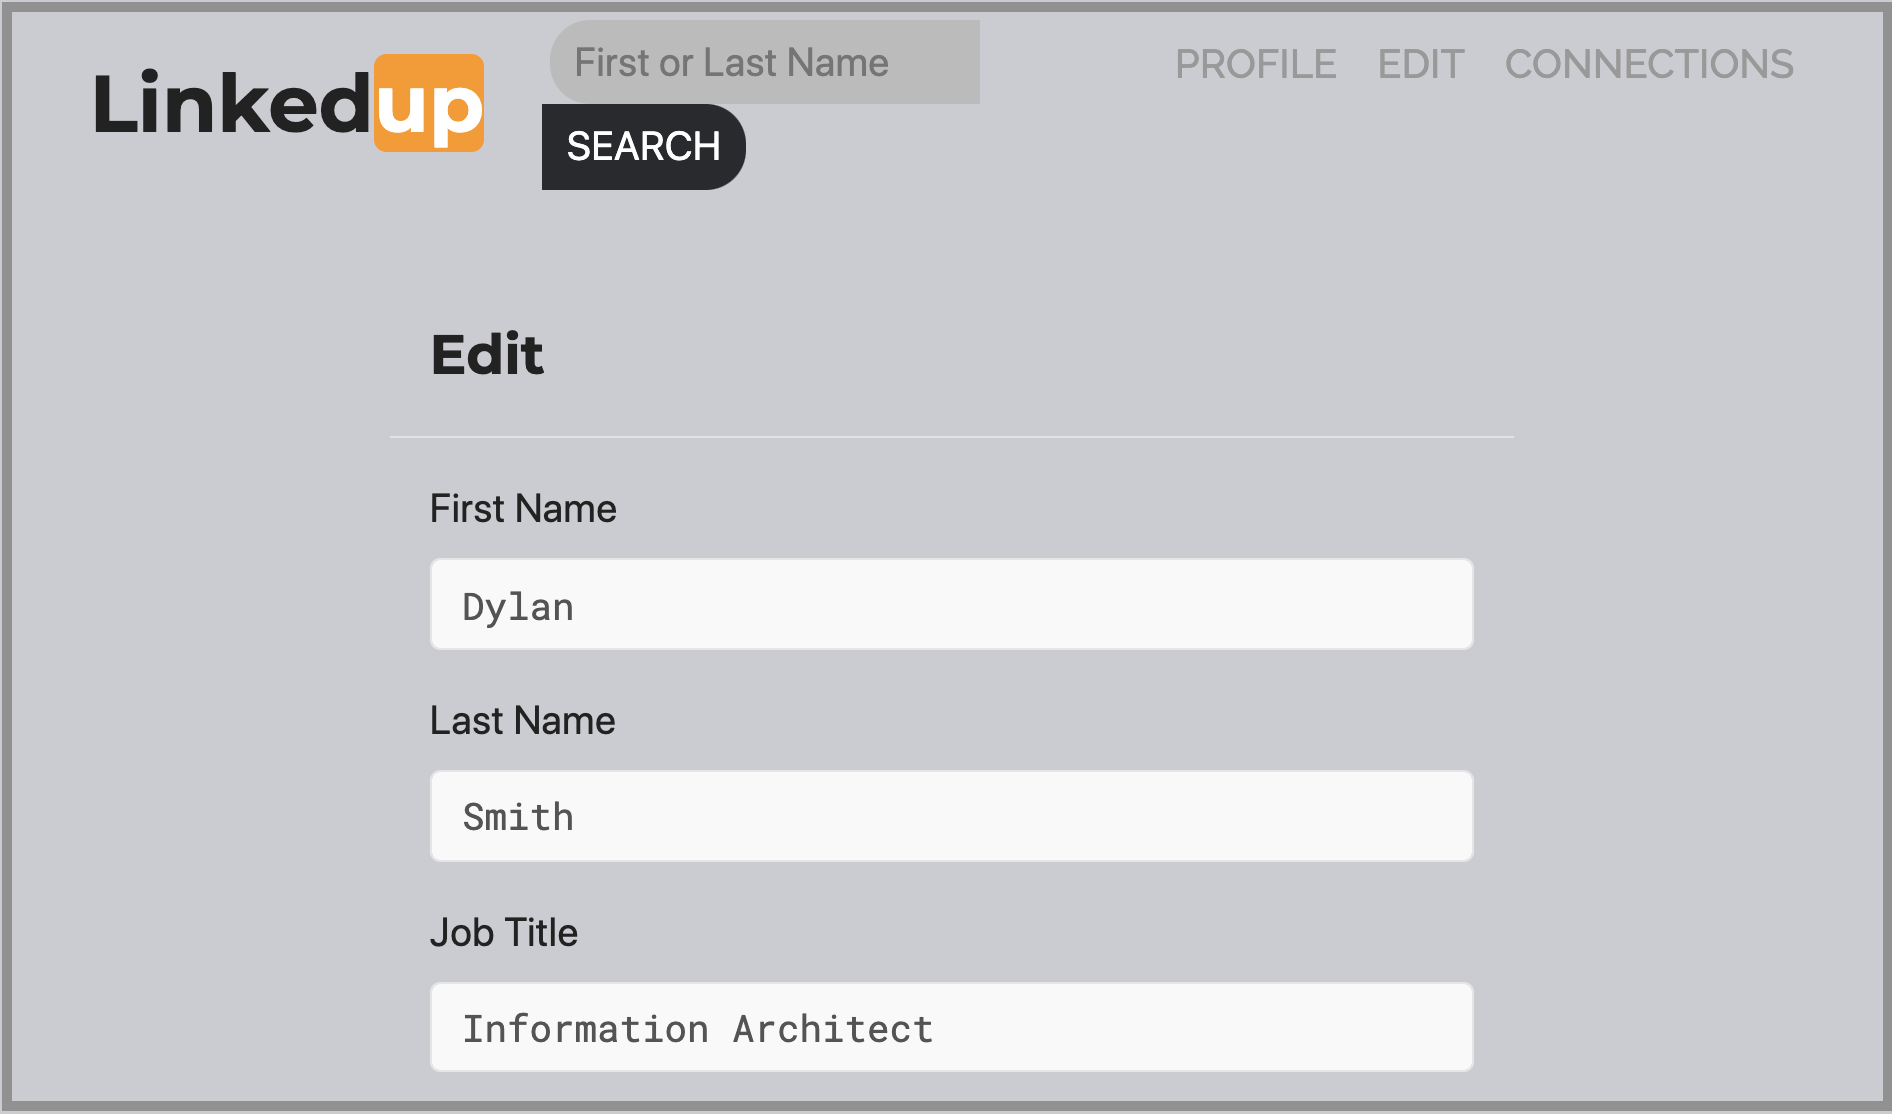
After clicking Submit, you have a second profile with some work history that can be viewed.
For example:
-
Type the first name or last name from the first profile you created—for example, if you created a profile for Maya Garcia, type Maya—then click Search.
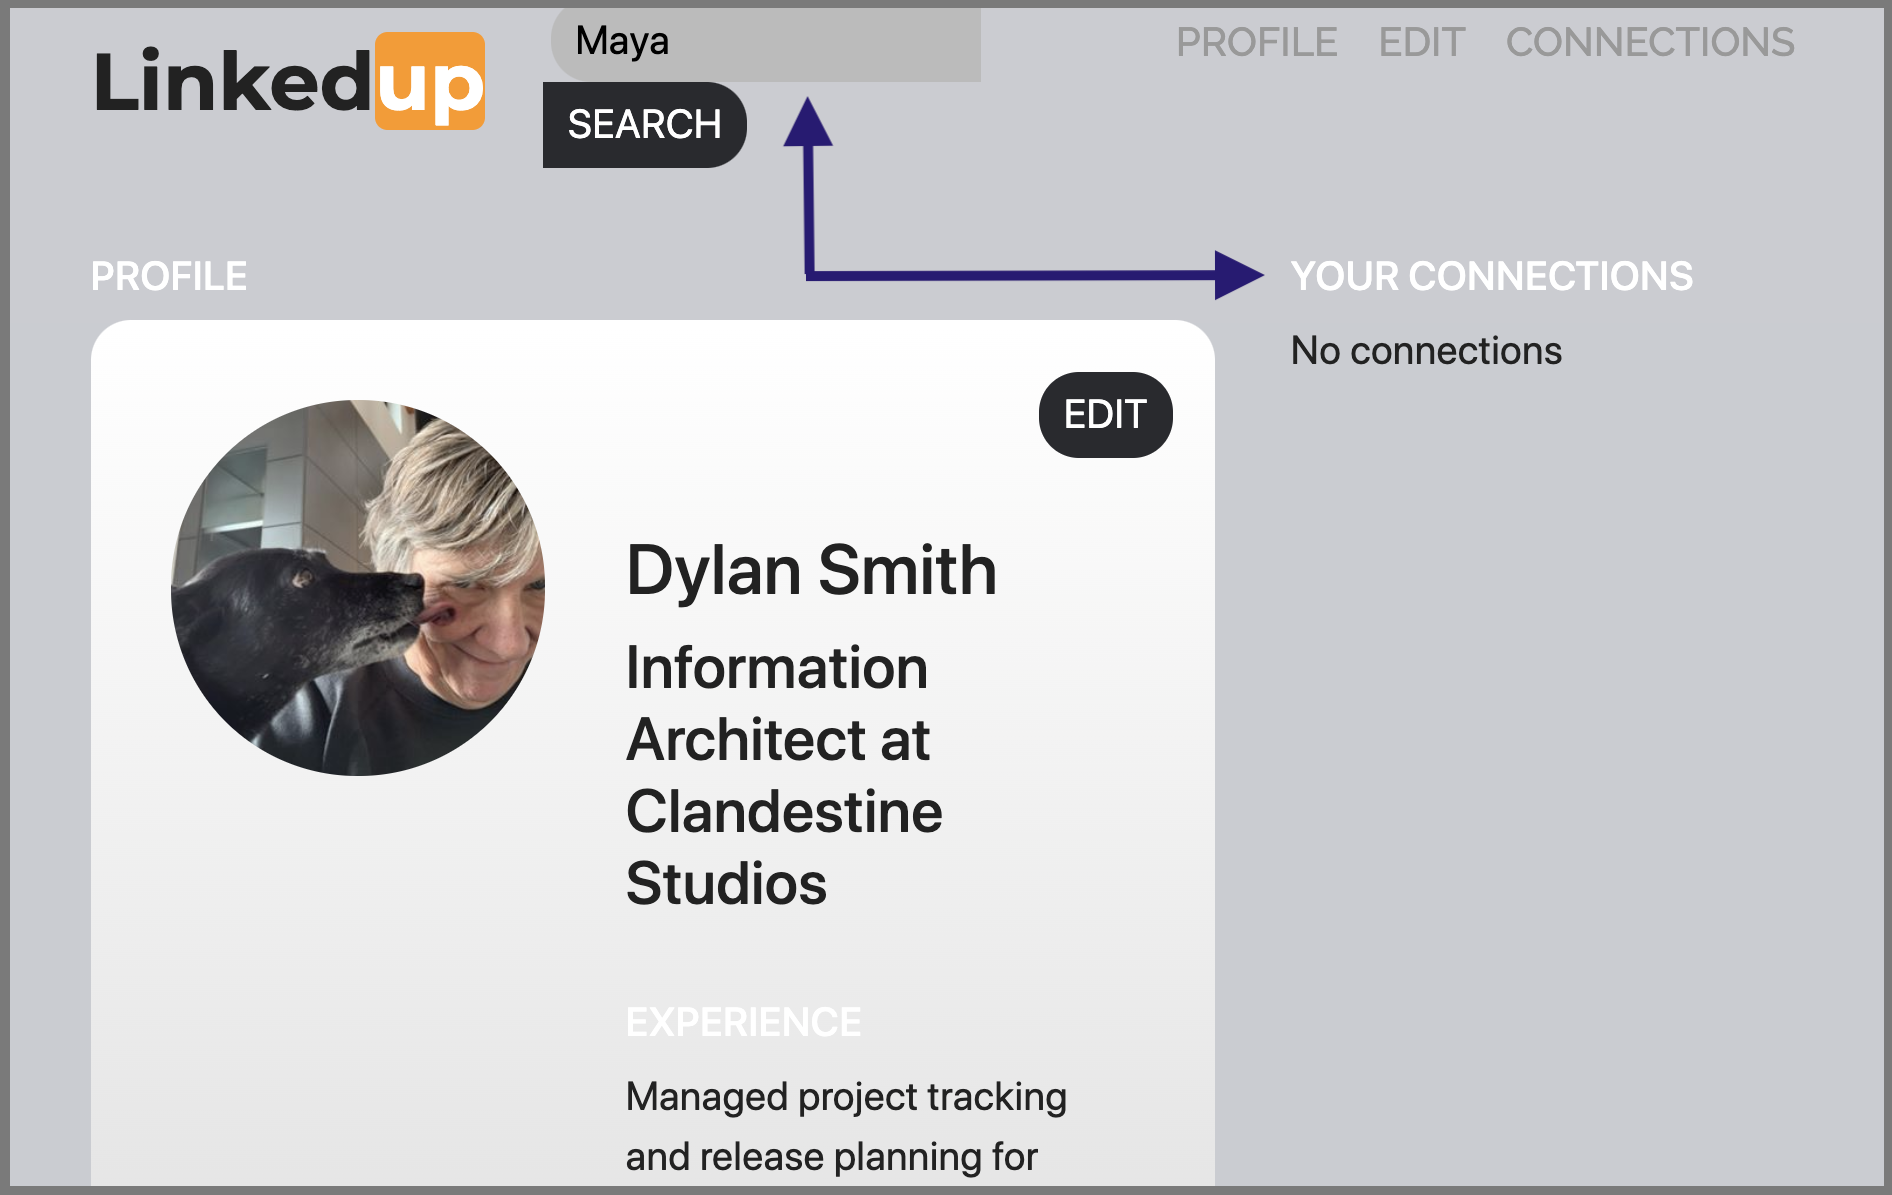
The profile matching your search criteria is displayed.

-
Select the contact from the search results, wait for the Connect button to be displayed, then click Connect.
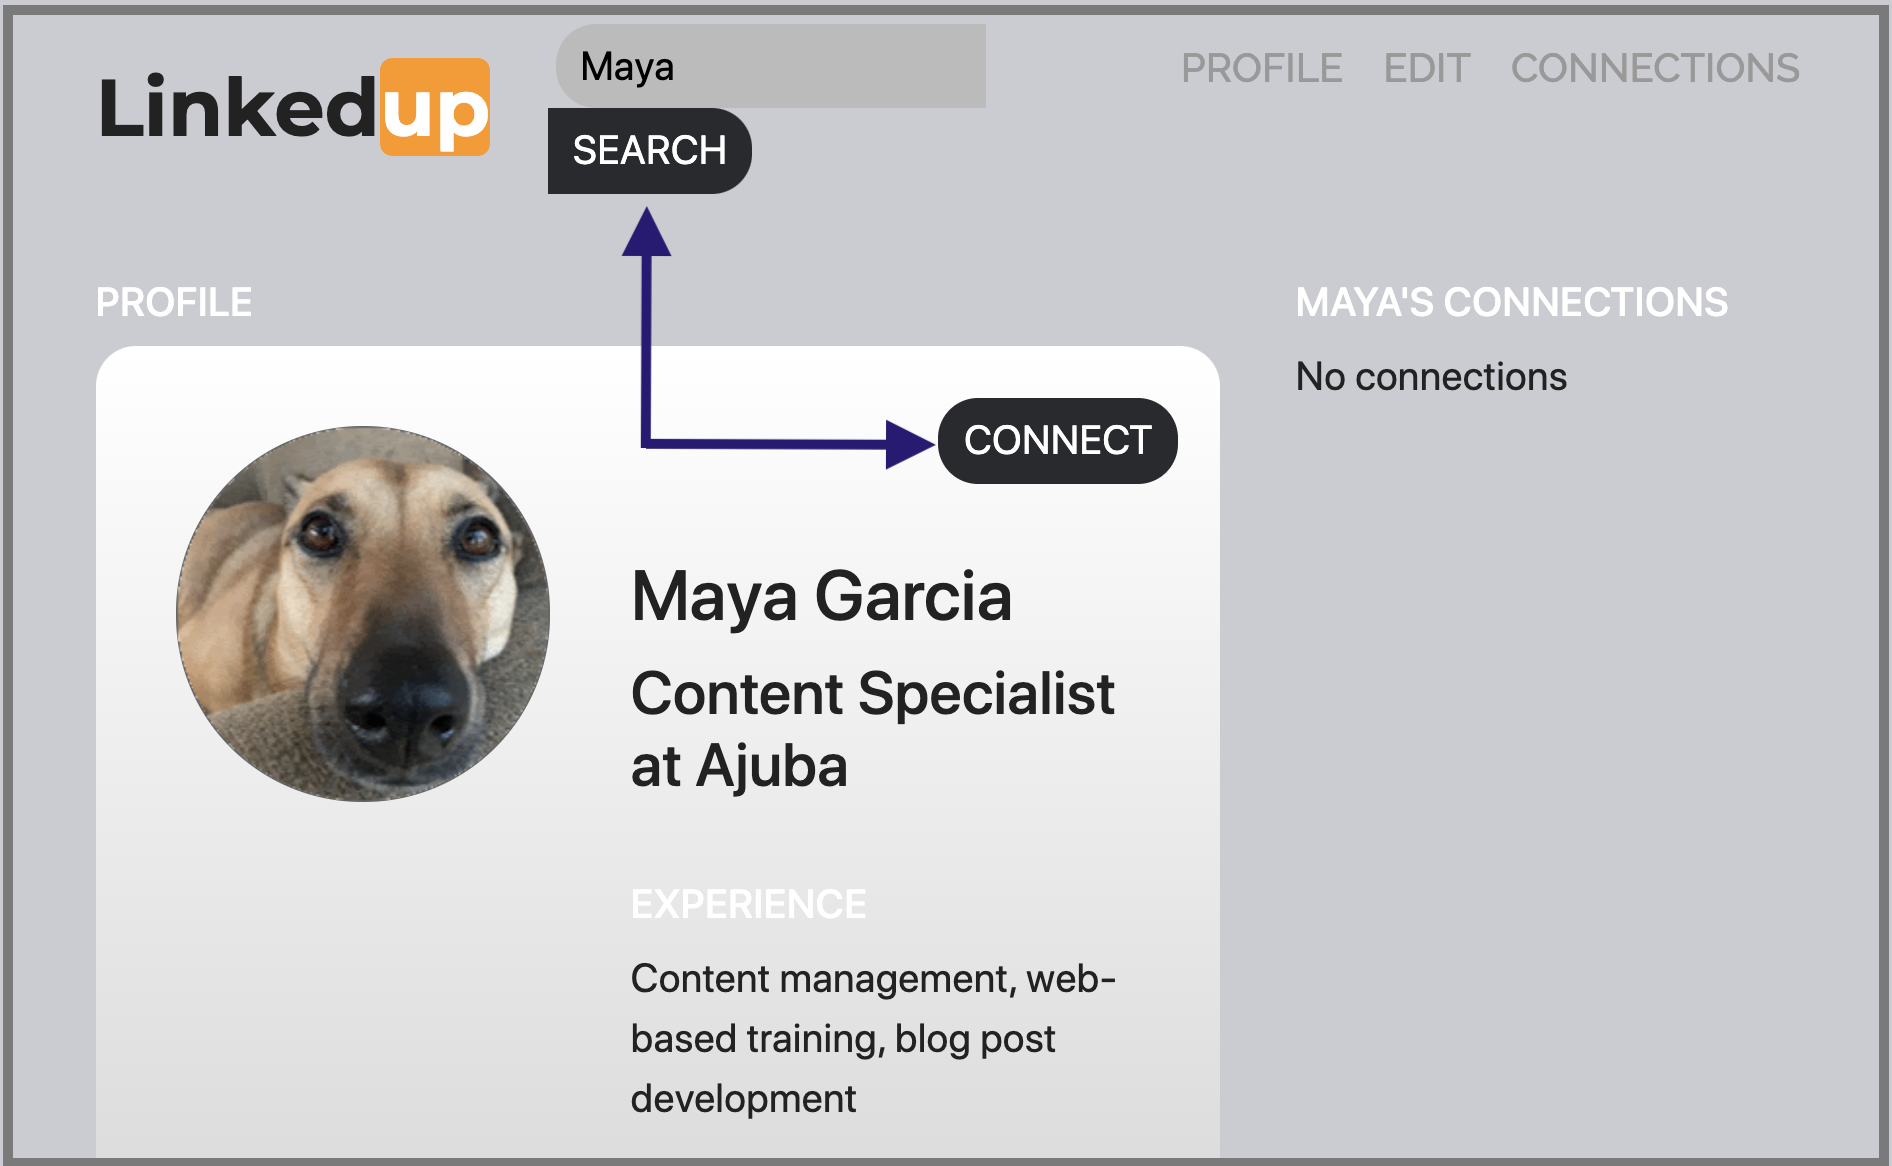
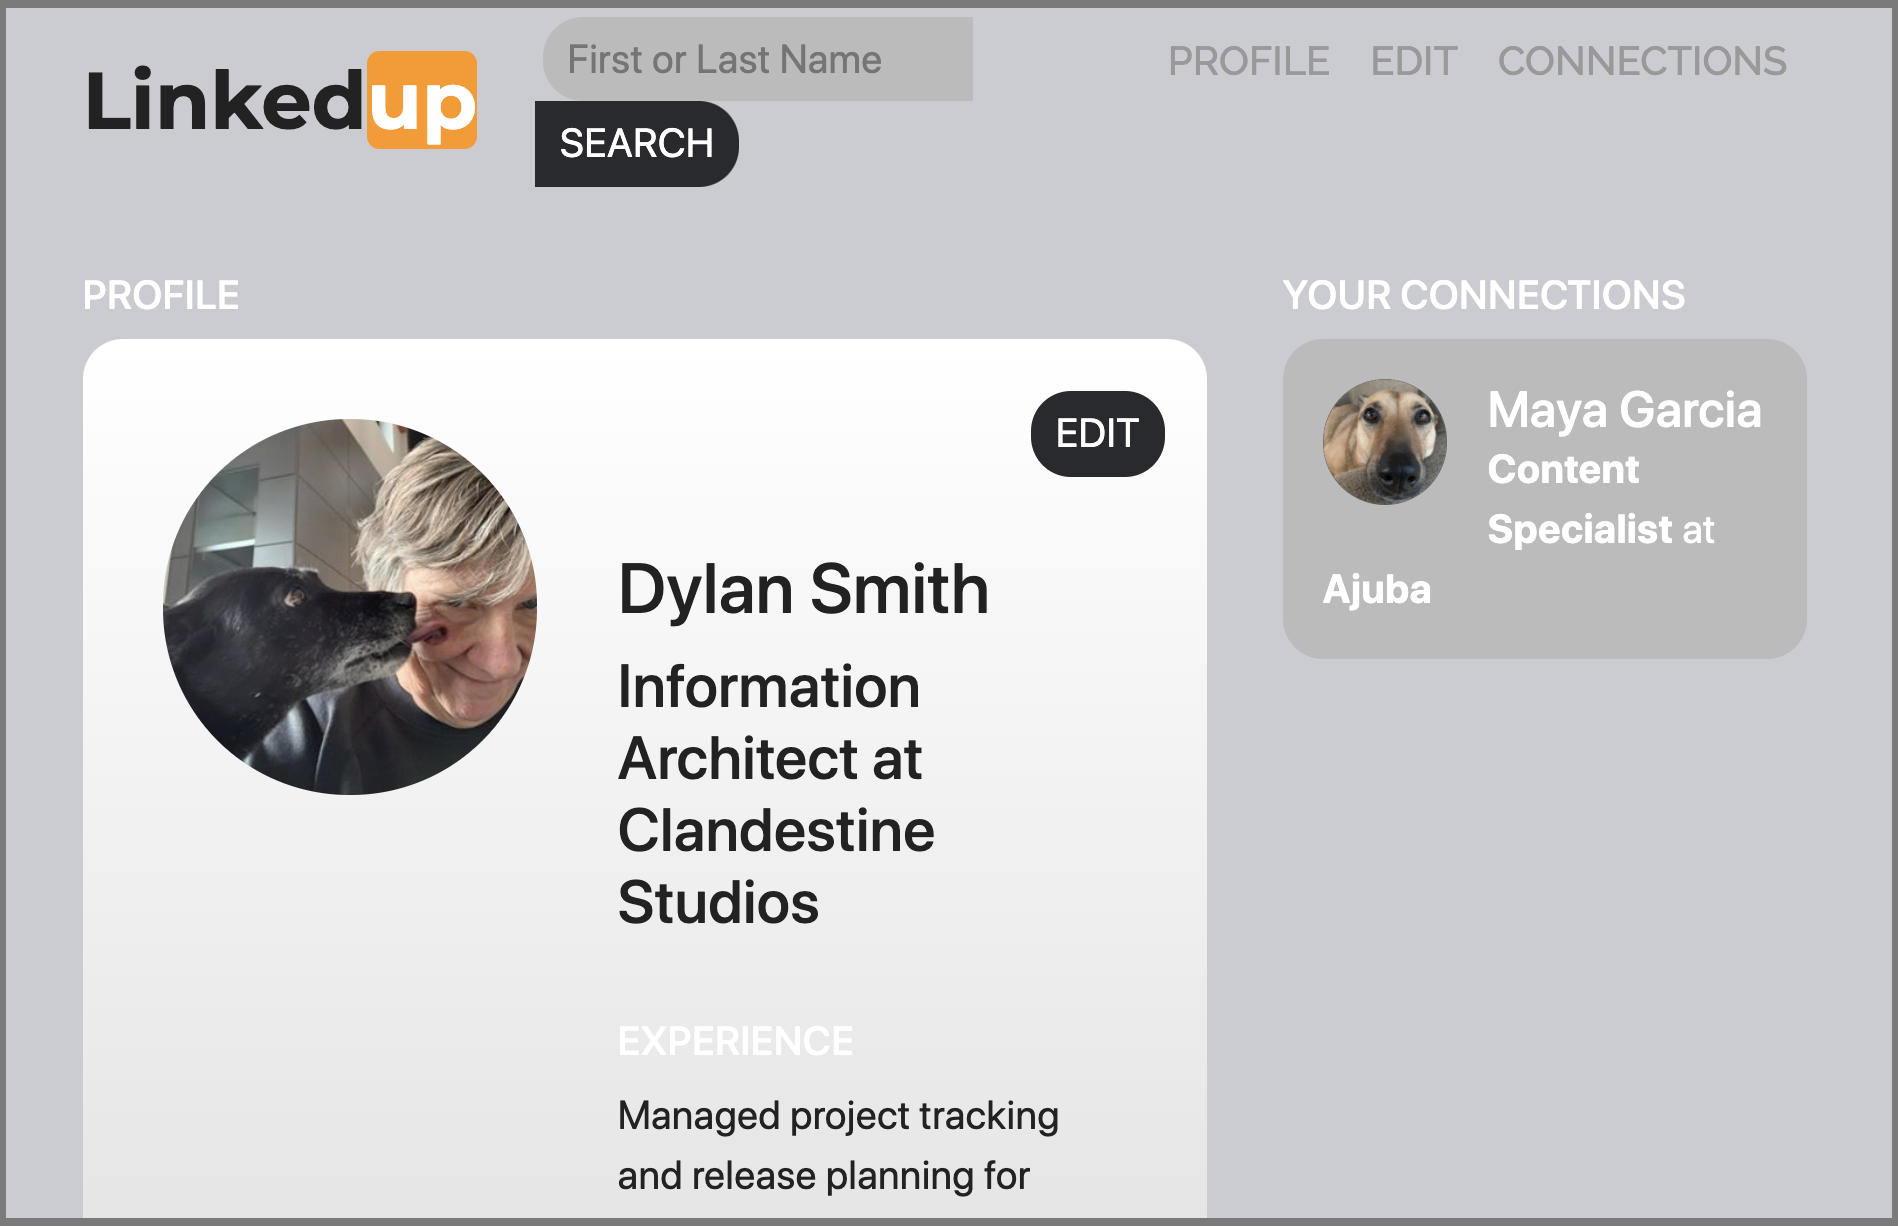
When the connection request completes, the second profile displays the connection to the first profile. For example:
-
Return to the browser tab with your original profile.
If you want to create a connection between the original profile and the profile you created in the private browsing window, you can do so by repeating the search, select, and connect steps.
Explore the configuration file
Now that you have explored the basic features of the sample dapp, you have some context for exploring how the configuration settings and source files are used.
To explore the configuration file:
-
Change to the
linkedupdirectory, then open the project’sdfx.jsonfile. -
Note that there are two main canister smart contracts defined—
connectdandlinkedup—each with amain.mosource file. -
Note that the
linkedup_assetscanister smart contract specifies a frontend entry point ofmain.jsand assets in the form of CSS and HTML files. -
Note that the dapp is configured to use the default IP address and port number for deployment on the local canister execution environment.
Explore the connectd source code
The source code for the social connections canister smart contract, connectd, is organized into the following files:
-
The
digraph.mofile provides the functions to create a directed graph of vertices and edges to describe a user’s connections. -
The
main.mocontains the actor and key functions for defining the connections associated with a user profile that can be called by the LinkedUp sample dapp. -
The
types.mofile defines the custom type that maps a vertex to a user identity for use in thedigraphandmainprogram files.
Explore the linkedup source code
The source code for the professional profile with work history and educational background is organized into the following files:
-
The
main.mofile contains the actor and key functions for the LinkedUp sample dapp. -
The
types.mofile defines the custom types that describe the user identity and profile fields that are imported and used in themainprogram file for thelinkedupcanister smart contract. -
The
utils.mofile provides helper functions.
Query and update operations
In working with the LinkedUp sample dapp, you might notice that some operations—such as viewing a profile or performing a search—returned results almost immediately. Other operations—such as creating a profile or adding a connection—took a little longer.
These differences in performance illustrate the difference between using query and update calls in the linkedup canister smart contract.
For example, in the src/linkedup/main.mo file, the create and update functions are update calls that change the state of the canister smart contract and therefore need to go through consensus, but the program uses query calls for the get and search functions to view or search for a profile:
  // Profiles

  public shared(msg) func create(profile: NewProfile): async () {
    directory.createOne(msg.caller, profile);
  };

  public shared(msg) func update(profile: Profile): async () {
    if(Utils.hasAccess(msg.caller, profile)) {
      directory.updateOne(profile.id, profile);
    };
  };

  public query func get(userId: UserId): async Profile {
    Utils.getProfile(directory, userId)
  };

  public query func search(term: Text): async [Profile] {
    directory.findBy(term)
  };
Interaction between the canister smart contracts
In this sample dapp, the linkedup canister smart contract leverages functions defined in the connectd canister.
This separation simplifies the code in each canister smart contract and, more importantly, illustrates how you can extend a project by calling common functions defined in one canister smart contract from one or more other canisters.
To make the public functions defined in one canister smart contract available in the another canister smart contract:
-
Add an
importstatement in the calling canister.In this example, the public functions are defined in the
connectdcanister smart contract and are called by thelinkedupcanister smart contract.Therefore, the
src/linkedup/main.moincludes the following code:// Make the Connectd app's public methods available locally import Connectd "canister:connectd"; -
Use the
canister.functionsyntax to call public methods in the imported canister smart contract.In this example, the
linkedupcanister smart contract calls theconnectandgetConnectionsfunction in the importedconnectdcanister smart contract.
You can see the code that enables interaction between the linkedup canister smart contract and the connectd canister smart contract in the main.mo source files.
For example, the src/connectd/main.mo defines the following functions:
+
actor Connectd {
  flexible var graph: Digraph.Digraph = Digraph.Digraph();

  public func healthcheck(): async Bool { true };

  public func connect(userA: Vertex, userB: Vertex): async () {
    graph.addEdge(userA, userB);
  };

  public func getConnections(user: Vertex): async [Vertex] {
    graph.getAdjacent(user)
  };

};
Because of the Import statement, the connectd functions are available to the linkedup canister smart contract and the src/linkedup/main.mo includes the following code:
  // Connections

  public shared(msg) func connect(userId: UserId): async () {
    // Call Connectd's public methods without an API
    await Connectd.connect(msg.caller, userId);
  };

  public func getConnections(userId: UserId): async [Profile] {
    let userIds = await Connectd.getConnections(userId);
    directory.findMany(userIds)
  };

  public shared(msg) func isConnected(userId: UserId): async Bool {
    let userIds = await Connectd.getConnections(msg.caller);
    Utils.includes(userId, userIds)
  };

  // User Auth

  public shared query(msg) func getOwnId(): async UserId { msg.caller }

};
Stop the local canister execution environment
After you finish experimenting with the linkedup dapp, you can stop the local canister execution environment so that it doesn’t continue running in the background.
To stop the local canister execution environment:
-
In the terminal that displays the output of the local canister execution environment, press Control-C to interrupt the local process.
-
Stop the local canister execution environment by running the following command:
dfx stop